PowerShell, Azure Functions, SignalR
Build real-time Apps with a PowerShell Azure Function And SignalR
Build-real-time-Apps-with-a-PowerShell-Azure-Function-And-SignalR
It’s real-time with PowerShell and Azure Functions
Delivering up-to-date information without hitting a refresh button, using PowerShell serverless functions, here’s how.
There’s a new PowerShell Azure Function preview, v2.0. There’s a previous one, a proof of concept and the rebuilt one definitely new and improved. So let’s take it for a spin and try out some of the new bindings, like SignalR.
SignalR is a service that simplifies the process of adding real-time functionality to your application
To get started, you need to check out the Prerequisites section to setup your environment. It’s a one time shot and then you’re ready to got to the races building Azure Functions. Serverless functions are the future, I believe learning how to wield them is time well spent.
Prerequisites
To complete this quick start:
- Install the Azure PowerShell “Az” Module -
Install-Module -Name Az - Install PowerShell Core
- Install Visual Studio Code on one of the supported platforms.
- Install PowerShell extension for Visual Studio Code.
- Install .NET Core SDK 2.2+ (required by Azure Functions Core Tools and available on all supported platforms).
- Install version 2.x of the Azure Functions Core Tools.
You also need an active Azure subscription.
If you don’t have an Azure subscription, create a free account before you begin.
Let’s Go
Once the prerequisites are installed, you’ll be able to do two key things, first, build, run and test PowerShell Azure Functions locally. Then, when you’re ready, you’ll be able to publish it to Azure and host it in the cloud.
First, Create a SignalR Serverless Instance
We’ll use a few PowerShell Az functions to do this:
- Log into your Azure account -
Connect-AzAccount - Spin up a new SignalR instance -
New-AzSignalR -ResourceGroupName MyAzSignalR-rg -Name MySignalRInstance -Location eastus -Sku Free_F1
HostName                                           Location       ServerPort PublicPort ProvisioningState Version
--------                                           --------       ---------- ---------- ----------------- -------
mysignalrinstance.service.signalr.net              eastus         443        443        Succeeded         -0
- Now get the connection string -
Get-AzSignalRKey -ResourceGroupName MyAzSignalR-rg -Name MySignalRInstance- Grab the
PrimaryConnectionString, you’ll need that to set it in your configuration for the PowerShell Azure Function.
- Grab the
Grab the PowerShell Code
Anthony Chu worked up the PowerShell Azure function example in one if his repo branches. I laid it out here for easier access.
Clone or Get the Zip
git clone https://github.com/dfinke/signalr-service-quickstart-powershell-serverless-chat.githttps://github.com/dfinke/signalr-service-quickstart-powershell-serverless-chat/archive/master.zip
Install SignalRService Extension
You need the extension in order to work, here’s how to install it.
func extensions install -p Microsoft.Azure.WebJobs.Extensions.SignalRService -v 1.0.0
Rename The Settings File
- Rename
local.settings.sample.jsonlocal.settings.json - Next, paste the
PrimaryConnectionStringyou got from theGet-AzSignalRKeyin the file in this key-value pair"AzureSignalRConnectionString": "<signalr-connection-string>"
Now You’ll Spin Up the PowerShell Function
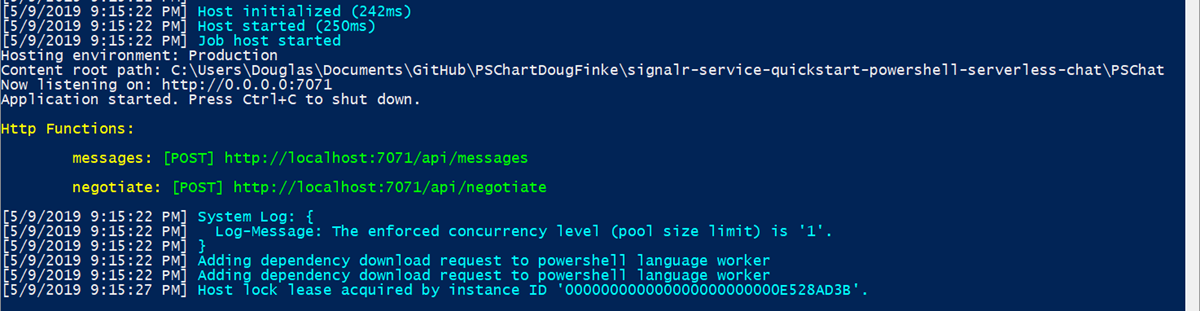
From a PowerShell Console navigate to where you cloned or unzipped the PowerShell code. You need to be a this level in the directory signalr-service-quickstart-powershell-serverless-chat\PSChat.
Now, type func start and press enter. Lots of messages should scroll by and at the end, you should see something like this.
Let’s give it an end to end spin.
Chat Web App
Launch the Serverless chat web app.
https://azure-samples.github.io/signalr-service-quickstart-serverless-chat/demo/chat-v2/
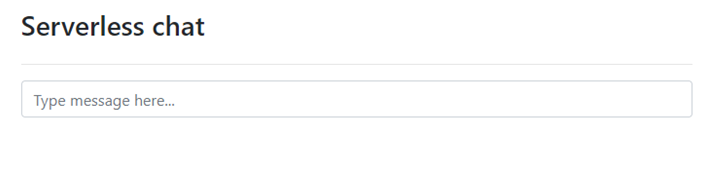
You’ll get two prompts, the first you can take the default, press enter. The second prompts for a user name, to be used in the chat, here’s your chance to be creative, type one and press enter.
If all goes well, you should see this screen:
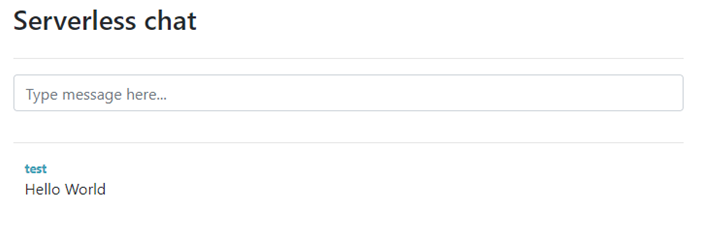
Type in Hello World and press enter and this should show up.
Success
You’ve just locally tested your real-time PowerShell Azure Function. Sending it a message, that outputs it to your Azure SignalR service which then broadcasted it to clients that were registered to it.
Don’t close the this web page!
Next, let’s tweak the message that gets returned.
Tweak It
Open the run.ps1 file in the PSChat\messages directory. You’ll replace the code.
From this
$message = [PSCustomObject]@{
    Target    = "newMessage"
    Arguments = @($Request.Body)
}
with this
$result = $Request.Body
$result.text += " [from my PowerShell Azure Function]"

$message = [PSCustomObject]@{
    Target    = "newMessage"
    Arguments = @($result)
}
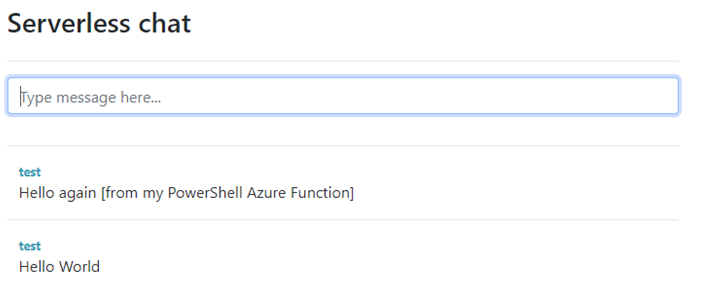
Now, save it and head back to the Sererless chat web page.
Type Hello again and press enter. You should see this.
Notice
You didn’t have to refresh the page or do another func start. When you did the func start, it set up a watch, and when you modify code or settings, it will automatically “reset” and make your PowerShell Function ready to go.
That’s slick and makes your development loop very productive.
Wrap Up
In the next post you’ll see how to take this PowerShell Azure Function and publish it to the Azure Cloud so you can share it with friends and family.
Meanwhile, happy PowerShelling.